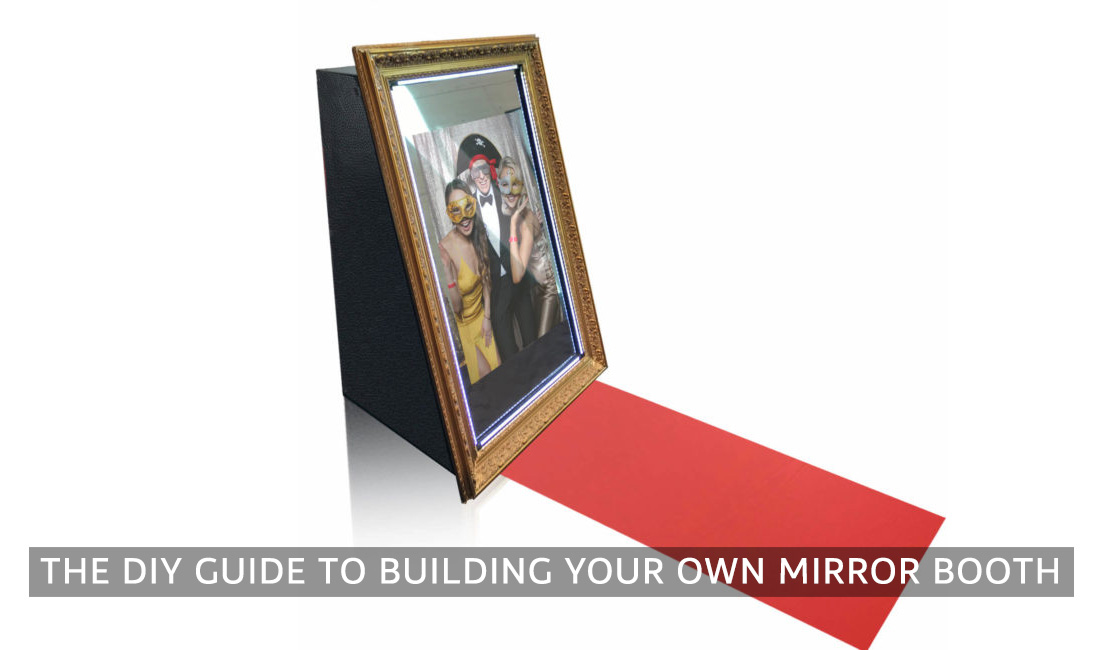
There are a few different ways to build a mirror booth and a few different materials and configurations you can opt for. This is how I built ours. I aimed for easily accessible and cheap materials that I knew were reliable and durable.
Our mirror booth has been an absolute hit at our client’s events and has paid itself off many times over. The booth was so popular that it was booked for multiple events before I had even finished building it!
The booth literally paid itself off before construction was complete, a perfect sign of a great investment!
Once construction was completed I had a custom cover made by Studio Slips to protect is during transport. These guys produce affordable, excellent covers that I can’t recommend enough. I strongly suggest getting them to make you a softcover to increase the longevity of your build.
Now, with all that out of the way, let’s get to the fun stuff, building the booth!
What you’ll need
- Basic construction or woodworking knowledge – Helpful but not essential.
- 3 x 11mm to 16mm MDF Sheets (or pine for less weight) – About 1.5m x 1.5m each.
- A Mini PC – You’ll need at least an i5 processor to power the booths animations. I recommend something like the Intel NUC range. We bought ours off craigslist for about $500, half of what they go for new.
- An Infrared Touch Frame – This gives the front glass it touchscreen ability. We bought ours here
- A 3mm Glass Sheet – Cut to fit the IR frame, the size is about 55 inches. Wait until after building your enclosure to measure. Purchase this from a local glass supplier in your area.
- A Dye Sublimation Printer – We’re just using the Mitsubishi CPD70-DW from one of our existing booths.
- Vinyl Wrap – Measure how much you’ll need once you’ve built the enclosure. I used black but you can use any color you like.
- 42″ HD TV – The TV will be mounted behind the glass.
- 2 x USB Cables – Like this.
- DslrBooth photobooth software – Or, you can also use the new Booth Junkie software.
- Canon DSLR Camera of your choice – As long as it’s supported by your choice of booth software. I recommend a Canon T31 or 1300D.
- Camera Mount – You’ll need one with a ball head that has an adjustable angle. Like this one.
- Ac Power Supply– For you camera, or you can use a spare camera battery and charge it while your first battery is in use.
- IEC cable x 2 – To power flash and printer.
- HDMI Cable – For connecting the mini PC to the TV screen. You’ll need a Mini-HDMI to standard HDMI like this one.
- External Strobe Flash – 1
- Hot shoe Flash Adapter – Like this.
- Flash Sync Cable – Like this. This will connect from camera to the flash. The flash will be mounted on top of the booth.
- Flash Pole – To mount flash to the top of the booth.
- 2 Way Mirror Film – We went to a local car tinting shop and asked them to apply 2-way mirror tint to our previously cut piece of glass. Don’t bother buying your own mirror film and applying yourself. It’s impossible to get all of the bubbles out, trust me, I tried this twice.
- Led Strip Lights – This will act as the modelling light for the photos. The extra external light helps the camera see through the mirror tint when using autofocus on your camera. The LED strips will attach to the front of your booth double-sided sided tape.
- Piano Hinge – Cut to your desired length for the back door- like this.
- Cam Lock x 2 – Like this. These will need to be sized the same as the MDF you’re using.
- Various Tools – Battery Drill, Jigsaw, Hand Planer, 10mm Wood Screws, Construction Adhesive, Black Gaff Tape, Black Spray Paint, Sandpaper, Builders Putty, Spatula.
- 20mm x 20mm Pine Beading – Like this. These are for reinforcing the joins and for screwing each panel into.
- Large Ornate Frame – We found some nice gold ornate mouldings from a local supplier for our frame. If you can’t find a supplier for mouldings you can repurpose an old picture frame as long as it’s large enough.
Most mirror booths are on a slight 30-degree angle. In my opinion, this is the best way to do it as opposed to having the mirror completely upright.
Because of the 30-degree angle, the taller guests will be able to see themselves in the mirror, something you could only achieve otherwise by making to booth much taller if it was upright. This makes transport much easier.
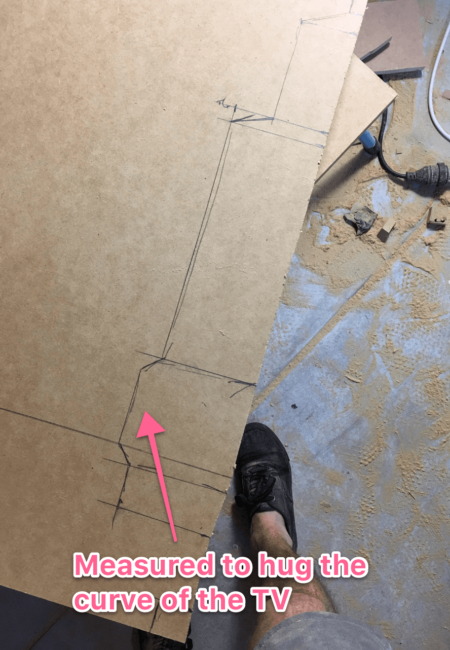
The measurements provided are a guide and don’t need to be strictly adhered to. You’ll need to measure each panel yourself, with a tape measure, and adjust if necessary.
Before you start, make sure you have the appropriate safety gear on when using power tools. You’ll need safety glasses and earplugs at the very least. I suggest a pair of gloves also. Make sure any power tools you use have all of their safety mechanisms working correctly.
Be sure to work in a clear area without any trip hazards.


![[6bff8f9adb76762f3874fee957a1c6e4]_Screen+Shot+2018-01-31+at+9.27.31+AM Mirror booth enclosure](https://prophotoboothtemplates.com/wp-content/uploads/2018/01/6bff8f9adb76762f3874fee957a1c6e4_ScreenShot2018-01-31at9.27.31AM-400x650.png)
![[7ad0276524d990e4306f19689abb748a]_Screen+Shot+2018-01-31+at+9.45.00+AM [7ad0276524d990e4306f19689abb748a]_Screen+Shot+2018-01-31+at+9.45.00+AM](https://prophotoboothtemplates.com/wp-content/uploads/2018/01/7ad0276524d990e4306f19689abb748a_ScreenShot2018-01-31at9.45.00AM-400x650.png)
![[9ccb6e17a4c7aa39d462ffaa6114fbad]_Screen+Shot+2018-01-31+at+11.28.35+AM [9ccb6e17a4c7aa39d462ffaa6114fbad]_Screen+Shot+2018-01-31+at+11.28.35+AM](https://prophotoboothtemplates.com/wp-content/uploads/2018/02/9ccb6e17a4c7aa39d462ffaa6114fbad_ScreenShot2018-01-31at11.28.35AM-450x600.png)
![[404f56c6ac13cb5860b99ca30e22df72]_Screen+Shot+2018-01-31+at+11.33.04+AM [404f56c6ac13cb5860b99ca30e22df72]_Screen+Shot+2018-01-31+at+11.33.04+AM](https://prophotoboothtemplates.com/wp-content/uploads/2018/02/404f56c6ac13cb5860b99ca30e22df72_ScreenShot2018-01-31at11.33.04AM-450x600.png)


